One thing you should know before getting started and that is you have to understand tension. Tension in most hand work projects is very important and is something that comes from patience and practice. If your tension is off it can make a big difference in the outcome of your work.In this tutorial I will try to tell you where your tension is most important and hopefully this will help you along. Another thing I suggest is to read though the tutorial first and then go back to follow the steps.
You will need:
- One A5 journal ( you can make it bigger but for a project like this a smaller book is better.)
- Double sided sticky tape
- craft glue
- a sharp pair of scissors
- 3 different colours of ribbon (you can use any amount but 1 colour will make it boring and 3 is an easy colour to start with.)
 |
| Here are my tools, I used white as my base colour and pink and orange for the contrasting. |
Step one:
 |
| On the inside cover of the book, paste 3 strips of double sided tape. Make sure there are not any pages stuck to the cover. Do the same on the back cover of the book |
 |
| Put a strip of double sided tape down the spine of the book. Do not pull any of the backing off just yet |
Step three:
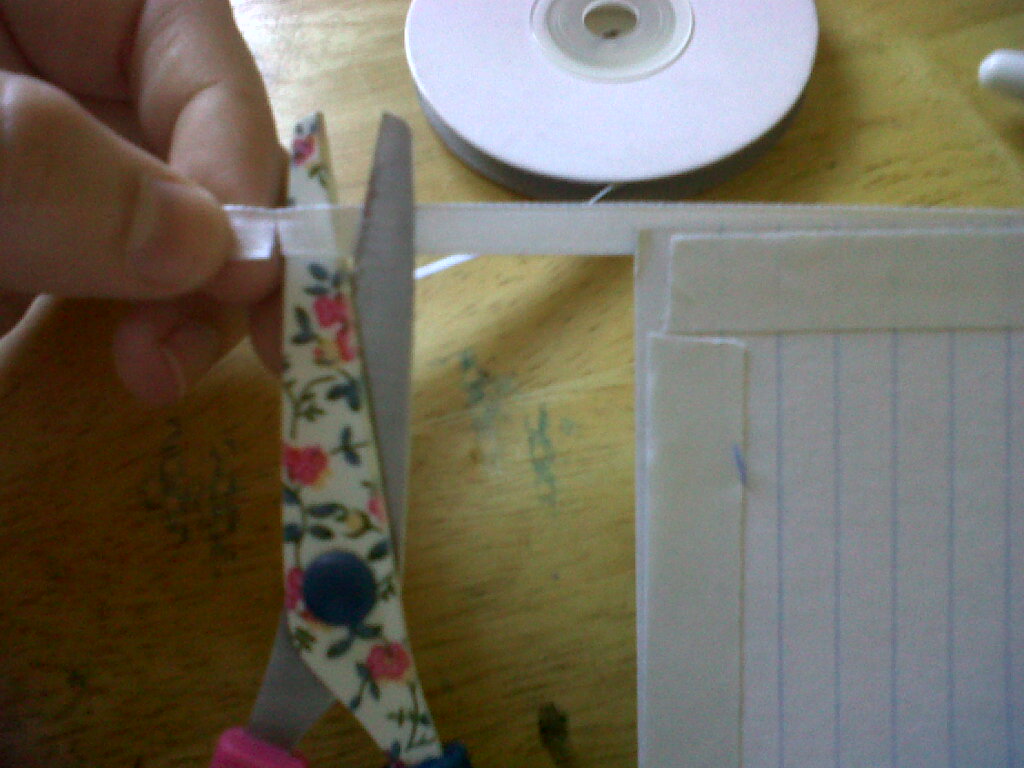 |
| Using your base colour, measure your ribbon to the length of the book from the top to the bottom leaving one inch extra on both ends. |
step four:
 |
| Layer the ribbon about 1 inch onto the top strip of double sided tape.Peel only as much tape as you need. Layer the ribbon next to each other, as close as you can, all the way across the top of the inside cover as close as possible |
 |
| This is how it should look when it is done. |
Step Five:
 |
| Now starting on the side of the journal, choose your first colour. Peel off a little of the tape and start layering your first colour. Measure it to the other side of the book , all the way around and cut it an inch longer |
 |
| With your next colour, keep layering all the way to the end. This is how it should look.only the inside of the front cover will be completed in this way. The inside of the back cover should be lined with just the white ribbon along the top. |
step seven:
 |
| Peel a little tape and layer about one inch of a new cut piece of tape over the last piece of ribbon, |
step eight:
 |
| Lay the book sideways which will be easier to work on. |
 |
| to make it easier for you, leave the roll of tape inside the cover and this will slightly elevate the cover and help keep the tape on the inside from sticking to the pages. |
step: nine
 |
| choosing one colour, gather up all the strands of that particular colour and pull them towards you. |
step ten:
 |
| Pull one strand of the white ribbon down over the pink.Now is where your tension is important because you have to pull the white tight, keeping your finger on the top of the white ribbon on the inside cover. Peel a little of the backing from the tape and secure the white ribbon in place as close to the edge as possible without over lapping |
 |
| on the next layer bring the next piece of white ribbon under the pink and over the orange ribbon, weaving all the way to the end and secure the piece on white ribbon onto the double sided tape. Remember to pull it tight and when you lay it down, lay it right next to the last white piece without leaving any space. Secure it. |
 |
| Use your thumb to keep the ribbon in place while working. |
 |
| This is how it should look by the second white ribbon. |
Step twelve:
 |
| This is how it looks when you have finished the first side. Now we start on the spine of the book. |
 |
| Peel a little backing away from the tape on the spine. |
 |
| Close the book and pull the first ribbon tight and layer over the spine of the book. Repeat this process all the way down the spine of the book, keeping your tension the same. If your white is overlapping onto the spine then just pull the pink ribbon tight while moving the 'weave' into place with your thumb until everything is straight. |
 |
| This is a side view of the spine. There will be no white in the spine so try not to let any of the book show through. |
 |
| Weave the back cover, the same as the front. When you have put the last white ribbon in place then it is time to secure the colour ribbon. Pull the ribbon tight and close the book but leaving just enough space for your finger to fold colour ribbon over |
Step Fourteen:
 |
| This part is optional. You can trim all the excess ribbon off and place a small piece of tape just in the center , along the edge of the inner cover. |
 |
| Cut a piece of ribbon long enough to tie the book and secure it to the piece of tape. Do the same on the other side. This will be used to tie the book closed although it can be left off. |
Step fifteen:
 |
| Now using your craft glue, make a small layer of glue around the edge of the inside cover. I like to put two pieces of double sided tape in the center. Close the book and the glue will stick to the first page, concealing all the loose ends. |
 |
| There you have it. If you followed the instructions properly then you should have a ribbon woven diary that resembles this one. |
 |
| Or even this one. |
I hope that I have made this easy to understand but please leave a comment if you need any asistance. Thank you for following so till next time...Chow!


