
Today I will breaking away from my normal style to show you how to make this adorable little dolls house bureau made from items which are really easy to come by. It is so simple to make and once you know how you can make all different styles of cupboards, you do not have to follow my layout exactly but the technique is important. Please first read through the tutorial before attempting it just so that you make sure what is expected. Measure twice, cut once.
I made this little bureau a few days ago and it came out exactly how I wanted but the second one did not go as well although I think that the charm lies in the imperfections. My teacher in junior school always said " if you want perfect, go to the shops and buy one" and this has always stuck with me, specially when I start noticing little mistakes in my work.
Enough Rambling and more working.
As a side note I would like to add that although I like working with different glues and cutters, you may use whatever you like. I prefer a box cutter for bigger pieces that need straight edges and a scissors for smaller work. I also prefer clear contact glue for quick drying pieces which is a bit expensive so I swap to regular white craft glue for paper and pieces that do not have to be perfect.
For this piece I have also broken it down into 3 parts which are the structure, finishing, and legs and handles.
the structure:
1. The structure
Materials needed:
- glue ( I used paper glue and clear gel glue)
- box cutter
- scissors
- 4 matchboxes ( you may use more or less)
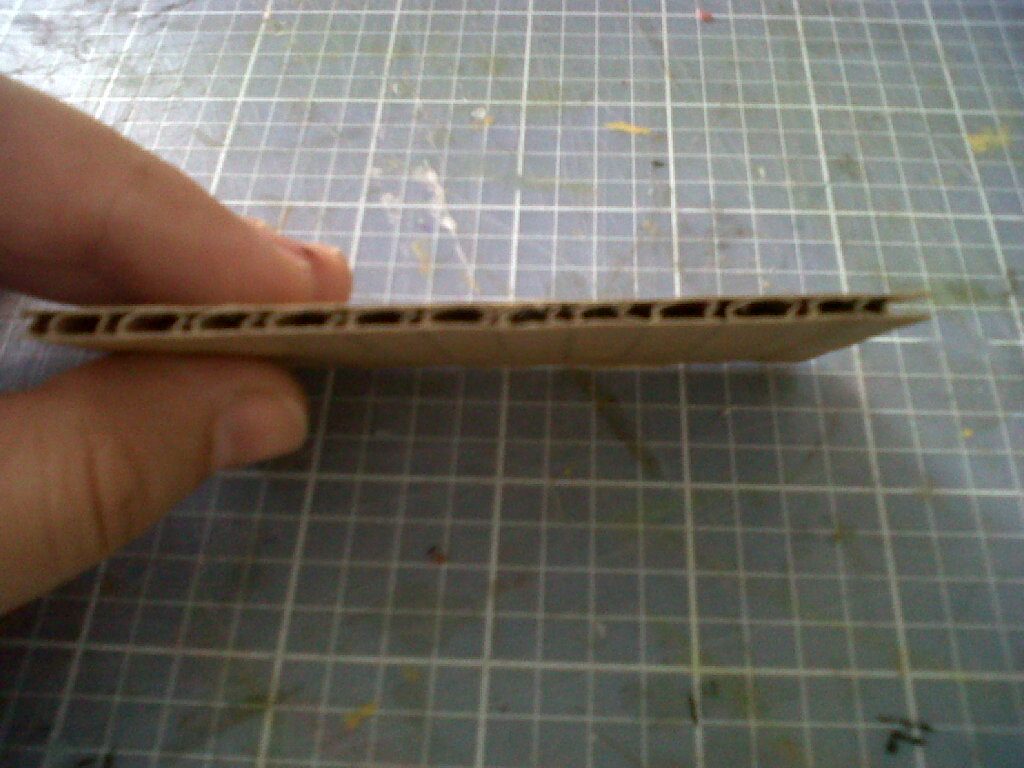
- corrugated cardboard ( basically I cut up an old packing box
- 2 pieces of 4.2x 6 pieces of decorative paper (or any size you like that will be sufficient to cover your piece.)
- a metal ruler, cutting mat and a pencil for marking

Step 1: glue your 4 boxes together. Set aside and allow to dry

 | |
| The two big pieces were 3.5"x2" and the smaller ones were 2"x1.5" |


Step 5: This part might be a bit tricky but please bear with me. Take one of the larger pieces of card and one piece of the patterned paper. Place the card in the center of the paper. Lift one corner slightly and make a crease where the paper and card meet. Once you have a crease then remove the card and fold across the crease. You could score it but I don't have a tool for that so I just fold it over and fold it the other way. Make sure your fold is neat and clear.

 |
| The crease should fold neatly over the edge of the cardboard |

 |
| This is how it should look when folded. |


 |
| Here are the four sides. |
 | ||
| Remember that when you glue the top and bottom piece to have about 1/4 inch visible | . |
 |
| Here is where my measurement was off. |
I notice that one side always comes out nicer on each piece so I chose which side of each board I want showing and marked that with an arrow drawn in pencil to remind myself. It is now time to assemble.
I noticed that when I measured my four sides that I had it a bit long on the sides so I took an extra piece of card and folded a strip of the paper over and glued on the bottom.I tried to turn a mistake into a design element and I like how it looked so it became a happy mistake.
 |
| My extra piece for the bottom |
 |
| extra piece glued on. |
This is how it should look when you are done

2. Sealing the structure and drawers.
This step is quite easy and can be done on the same day as finishing the structure.Materials needed.
- Modge podge
- craft paint, preferably a neutral colour to contrast with the patterned paper. Gold or silver is also a good choice.
- a paint brush
- left over patterned paper
- scissors
- glue ( I just used regular craft for this step)

Step 1: Remove all the little drawers. With your neutral craft paint and a small paintbrush, lightly paint the card from the matchboxes which is showing. No need to paint inside the boxes, just the outer edge. Leave aside to dry

 |
| front of the box painted. |
 |
| view from the side |
Step 3. Take the piece of patterned paper that was left over from the structure and measure it to fit on the front on the drawer, make it slightly smaller than the drawer so that it fits on the front and still leaves space around.
 |
| measured the paper with a pencil on the back |
 |
| Here they are cut out. |

Step 5: Paint one layer of modge podge over the entire structure and the front of the drawers. Basically this step is to protect our little desk, you may skip it if you like but since we where working with paper, I think this step is vital to ensure our work is protected. I also add a layer of clear varnish over the top of the desk to give it a nice shine.
This step is now complete and your bureau should look something like this.
 | ||
| A little wonky but cute none the less. |
At this point you can choose to use big glass beads for legs and handles by using a hot glue gun to glue them on or you could follow my last step which involves a little patience and some paper-quilling techniques.
You could also line your little drawers with some cut out felt to make the inside more attractive.
PLease note:
3. Handles and legs.
This part can be a bit tricky since it involves very small pieces and making sure they are just right but the finish is well worth it in the end.Materials needed
- regular white craft glue
- scissors
- one hole punch, or two hole, whichever you have on hand
- some paper ( if you have any patterned paper left over from the structure then you can use that)
- hot glue gun ( or regular clear glue if you are making this with kids or do not have a glue gun)
- paint, the same colour you used from the drawers is best.
- modge podge
- 4 tooth picks


Step 3: reapeat this with all the strips of paper until you have 8 little tubes


*Please note that I have left the back open on purpose. This function is so that you can push the drawers open from the back. The little handles are cute but might be fragile after too much pulling on them. You may cover the back with a piece of cardstock but I prefer not to.
So after a full day of preparing this tutorial I am finally done. The bureau is really cheap, easy and looks great when completed. I really do hope you give it a go and I would love to see a picture if you ever get around to making one so please feel free to message me. On another note, if there is any step that confuses you of if you need a little more clarification please feel free to contact me or leave a message anytime.

Good Job :)
ReplyDeleteI like this tutorial hihi
Lovely,cute and adorable.
ReplyDelete